greenhouse assembly instructions
Greenhouse Assembly Instructions: A Comprehensive Guide
Embark on a successful greenhouse project! This guide details step-by-step assembly‚ from foundation to finishing touches‚ ensuring a durable and productive growing space.
Sierra Greenhouse and ClimaPod Greenhouses offer easy-to-follow instructions‚ while YourGreenhouses.com provides guidance for expandable models.
Bootstrap Farmer provides printable manuals for all kits‚ simplifying the process for both mini and larger greenhouse structures.
Understanding Your Greenhouse Kit
Before you begin‚ familiarize yourself with the components of your greenhouse kit. Kits vary significantly‚ from compact models ideal for small spaces – as highlighted by Sierra Greenhouse – to expandable designs like those from YourGreenhouses.com.
Carefully unpack all parts and compare them against the included inventory list. Recognizing each component – frames‚ panels‚ hardware – will streamline the assembly process. MyGreenhouseStore.com emphasizes starting with corner supports for stability.
Understand the kit’s specific design; is it a freestanding structure or a lean-to requiring wall alignment? ClimaPod Greenhouses stresses the importance of understanding the setup. Knowing your kit’s features will prevent frustration and ensure a successful build;
Inventory and Parts List Verification
A meticulous inventory check is crucial before commencing assembly. Lay out all components and systematically compare them to the parts list provided with your kit – Bootstrap Farmer offers printable manuals to aid this process.
Verify the quantity of each item: frames‚ connectors‚ polycarbonate panels‚ hardware (bolts‚ screws‚ clips)‚ and any specialized parts. Note any discrepancies immediately. Missing or damaged parts can halt progress‚ so address these issues upfront.
MyGreenhouseStore.com suggests starting with corners for stability‚ implying corner supports should be among the first items verified. Document any shortages or damage and contact the manufacturer for replacements before proceeding.
Tools Required for Assembly
Successful greenhouse assembly necessitates having the correct tools readily available. While some kits‚ as highlighted by Sierra Greenhouse‚ offer tool-free options utilizing pre-drilled parts‚ most require basic hand tools.
Essential tools include a spirit level to ensure frame plumbness – MyGreenhouseStore.com emphasizes this step. A socket wrench or adjustable wrench is needed for tightening bolts and screws. A screwdriver (Phillips and flathead) is also vital.
Depending on the kit‚ you might also need a rubber mallet‚ measuring tape‚ safety glasses‚ and work gloves. For cutting polycarbonate panels‚ a utility knife or specialized cutting tool may be required.
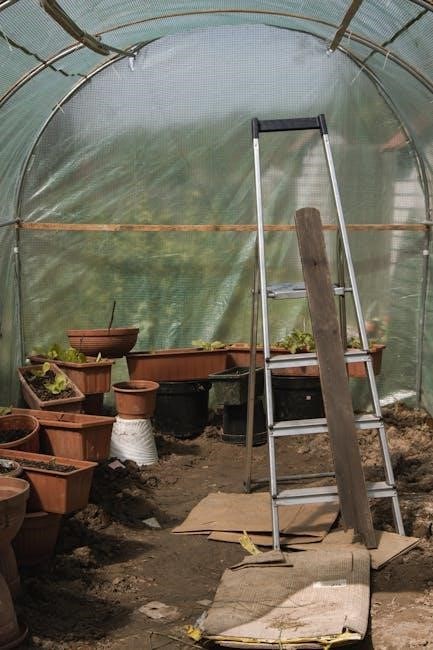
Foundation and Base Frame Assembly
Begin with a level site! MyGreenhouseStore.com advises attaching vertical supports to the base‚ starting at the corners for optimal stability and bracing.
Site Preparation and Leveling
Proper site preparation is crucial for a stable greenhouse. Begin by selecting a location that receives ample sunlight throughout the day‚ considering potential shading from trees or buildings. Clear the chosen area of all vegetation‚ rocks‚ and debris. MyGreenhouseStore.com emphasizes the importance of leveling the ground before commencing assembly.
Utilize a spirit level and shovel to ensure a perfectly even surface. Any inconsistencies can lead to structural issues later on. For larger greenhouses‚ consider a gravel base for improved drainage and stability. A well-prepared foundation will significantly contribute to the longevity and performance of your greenhouse‚ preventing future alignment problems.
Accurate leveling is paramount for a plumb and square frame.
Attaching Vertical Supports to the Base
Securely attaching vertical supports to the base frame is fundamental for structural integrity. MyGreenhouseStore.com advises starting with the corners‚ as they provide initial stability during the assembly process. Align each vertical support carefully with the pre-drilled holes in the base frame‚ ensuring a flush connection.
Utilize the provided bolts‚ screws‚ and washers‚ tightening them partially at first. This allows for adjustments as you proceed. Double-check that each support is perfectly vertical using a spirit level before fully tightening the fasteners. Consistent vertical alignment is essential for a plumb and stable greenhouse frame.
Proper attachment prevents future wobbling or collapse.
Reinforcing the Base Frame with Braces
Adding horizontal braces or crossbars significantly strengthens the base frame‚ enhancing its resistance to wind and weather. MyGreenhouseStore.com emphasizes following the kit’s manual precisely for brace placement‚ as this is crucial for optimal support. These braces distribute weight evenly‚ preventing warping or buckling of the base over time.
Attach the braces using the provided hardware‚ ensuring a snug fit against both the vertical supports and the base frame. Partial tightening initially allows for adjustments‚ guaranteeing squareness before final tightening. Regularly inspect these connections for looseness‚ especially after periods of inclement weather.
A well-braced base is the foundation of a lasting greenhouse.

Frame Assembly – Step-by-Step
Begin assembling corner supports‚ then add horizontal frame members‚ ensuring plumb and squareness with a spirit level before fully tightening bolts‚ as advised by MyGreenhouseStore.com.
Assembling Corner Supports
Corner supports are the foundational elements of your greenhouse frame‚ demanding careful assembly for overall structural integrity. MyGreenhouseStore.com emphasizes starting with the corners for stability when attaching vertical supports to the base frame.
Ensure each corner is securely fastened‚ utilizing the provided hardware and following the kit’s manual precisely. Double-check alignment before fully tightening bolts; slight adjustments now prevent larger issues later.
YourGreenhouses.com highlights the flexibility of expandable models‚ but even these require robust corner construction. Pay close attention to pre-drilled holes‚ utilizing them for accurate and efficient assembly. A well-assembled corner provides a solid anchor point for subsequent frame members.
Adding Horizontal Frame Members
Once corner supports are secure‚ begin adding horizontal frame members to create the greenhouse’s skeletal structure. MyGreenhouseStore.com advises adding horizontal braces or crossbars as indicated in your kit’s manual‚ reinforcing the initial corner assembly.
Maintain consistent spacing between these members‚ referencing the manual for precise measurements. Ensure each horizontal piece is level and flush against the vertical supports before fastening.
Sierra Greenhouse suggests utilizing clear‚ well-illustrated manuals for step-by-step guidance during this phase. Pre-drilled parts‚ if included‚ will streamline the process‚ promoting accurate alignment and a sturdy frame. Consistent checking ensures a square and stable structure.
Ensuring Frame Plumb and Squareness
Achieving a plumb and square frame is crucial for stability and proper panel installation. MyGreenhouseStore.com emphasizes checking that all frames are plumb using a spirit level before fully tightening bolts. This allows for adjustments while the structure is still malleable.
Regularly assess the squareness of the frame by measuring diagonals; they should be equal. Minor adjustments can be made by gently shifting the frame until square.
ClimaPod Greenhouses highlights the importance of a solid foundation for maintaining plumb. Sierra Greenhouse’s guides stress consistent leveling throughout the assembly process‚ preventing future structural issues.
Lean-To Greenhouse Specifics: Wall Alignment
Lean-to greenhouses require precise wall alignment for weatherproofing and structural integrity. MyGreenhouseStore.com specifically advises ensuring frames align flush with the supporting wall during assembly. This close fit minimizes gaps where drafts or moisture can penetrate.
Carefully measure and adjust the frame to match the wall’s angle and surface. Use shims if necessary to achieve a perfectly flush connection. Securely anchor the greenhouse frame to the wall using appropriate fasteners‚ ensuring compatibility with the wall material.
Sierra Greenhouse suggests pre-drilling pilot holes to prevent splitting. A well-aligned lean-to maximizes sunlight and space efficiency.

Polycarbonate Panel Installation
ClimaPod Greenhouses emphasizes a pro approach to panel installation! Properly prepare‚ attach‚ and seal polycarbonate panels for lasting durability and optimal light transmission.
Preparing Polycarbonate Panels
Before installation‚ carefully inspect all polycarbonate panels for any shipping damage. Lay them out in the sun to allow for slight expansion‚ making installation smoother. ClimaPod Greenhouses recommends cleaning the panels with a mild soap and water solution to remove any debris or protective film residue.
Pay close attention to the panel’s UV-protected side; this should face outwards to prevent degradation from sunlight. Some kits may require cutting panels to size‚ so use a fine-toothed saw and ensure clean‚ straight cuts. Always wear safety glasses when cutting polycarbonate! Deburr the edges after cutting to prevent cracking and ensure a secure fit within the frame.
Proper preparation is key to a long-lasting and efficient greenhouse structure.
Attaching Panels to the Frame
Begin attaching polycarbonate panels to the frame‚ starting at the bottom and working your way up. ClimaPod Greenhouses suggests using the provided screws and washers‚ ensuring they are tightened securely but not over-tightened to avoid cracking the panels. Align the panels carefully with the frame openings‚ following the kit’s specific instructions.
Overlap panels as indicated in the manual‚ creating a watertight seal. Pre-drilled holes in the frame should align with the panel mounting points. If drilling is required‚ use a drill bit slightly larger than the screw diameter to allow for expansion and contraction. Maintain consistent spacing between screws for even distribution of stress.
Ensure each panel is flush with the frame before fully securing it;
Sealing Polycarbonate Panels
Properly sealing polycarbonate panels is crucial for a weather-tight greenhouse. After attaching the panels‚ inspect all edges and overlaps for potential gaps. ClimaPod Greenhouses recommends using a specialized polycarbonate sealant‚ as standard silicone can damage the material over time.
Apply sealant along all seams and around screw heads‚ ensuring a continuous bead. Smooth the sealant with a wet finger or tool for a clean finish. Pay close attention to corners and areas prone to water accumulation. This prevents drafts‚ reduces heat loss‚ and protects against algae growth.
Allow the sealant to cure completely before introducing plants to the greenhouse.

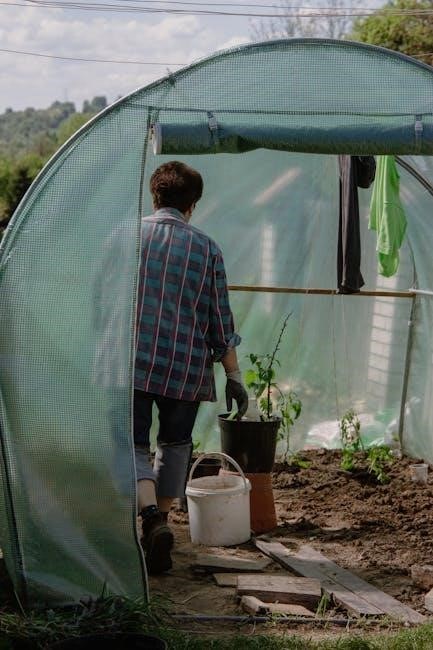
Door and Ventilation Installation
Ensure smooth operation and climate control! Assemble the door frame‚ hang the door securely‚ and install a ventilation system for optimal greenhouse conditions.
YourGreenhouses.com highlights the importance of a well-fitted door‚ while proper ventilation is key for temperature regulation.
Door Frame Assembly
Begin by carefully laying out all door frame components‚ referencing your kit’s manual for proper identification. Typically‚ this involves assembling the vertical and horizontal pieces using screws or bolts‚ ensuring a rectangular shape. Pay close attention to pre-drilled holes‚ aligning them accurately for a sturdy construction.
Reinforce corners with brackets if provided‚ adding extra stability to withstand frequent use. Check for squareness using a carpenter’s square – a slightly off-kilter frame can lead to door alignment issues later. Ensure the assembled frame fits snugly within the designated door opening in your greenhouse structure.
Consider the direction of the door swing during assembly‚ allowing for easy access and efficient ventilation. YourGreenhouses.com emphasizes the importance of a well-fitted door‚ so take your time and double-check all connections before proceeding to the next step.
Hanging the Greenhouse Door
Carefully lift the assembled door frame and position it within the greenhouse opening. Most kits utilize hinges – attach these to both the door frame and the greenhouse frame‚ ensuring proper alignment for smooth operation. Use a level to confirm the door hangs straight‚ adjusting hinge placement as needed.
Securely tighten all hinge screws‚ but avoid over-tightening‚ which could strip the screw holes. Test the door’s swing‚ checking for any binding or resistance. Adjust hinges to eliminate friction and ensure a full range of motion.
Consider installing a latch or locking mechanism for security and to maintain consistent greenhouse temperatures. MyGreenhouseStore.com suggests a snug fit for weatherproofing‚ so address any gaps with sealant.
Ventilation System Installation
Proper ventilation is crucial for regulating temperature and humidity within your greenhouse. Locate pre-designated ventilation openings‚ typically near the roof or sides‚ as outlined in your kit’s manual. Install vents or fans‚ securing them firmly to the greenhouse frame.
Ensure vents open and close smoothly‚ and consider automated options for consistent climate control. Check for proper airflow by observing air circulation when vents are open. Seal any gaps around ventilation components to prevent heat loss or pest entry.
MyGreenhouseStore.com emphasizes the importance of airflow‚ while Bootstrap Farmer manuals will detail specific installation steps for your kit’s ventilation system.

Finishing Touches and Maintenance
Finalize your greenhouse by tightening all hardware and inspecting for stability. Weatherproof gaps and regularly check for damage to ensure long-lasting performance and plant health!
Hardware Tightening and Inspection
Begin with a comprehensive inspection of all bolted connections within the greenhouse frame. Ensure every nut and bolt is securely fastened‚ but avoid over-tightening‚ which could potentially damage the frame material. Systematically work your way around the entire structure‚ checking both vertical supports and horizontal members.
Pay close attention to corner supports‚ as these areas experience significant stress. Verify that all screws used for attaching polycarbonate panels are properly seated and not stripped. Regularly scheduled inspections – perhaps quarterly – will help identify and address any loosening hardware before it becomes a significant issue. A well-maintained greenhouse is a safe and productive greenhouse!
Don’t forget the door hinges and latches; these require periodic tightening as well.
Weatherproofing and Sealing Gaps
Effective weatherproofing is crucial for maintaining a stable greenhouse environment. Carefully inspect all seams and joints where polycarbonate panels meet the frame‚ and where the frame connects to any supporting walls – especially in lean-to designs. Apply a high-quality greenhouse sealant to close any gaps‚ preventing drafts and heat loss.
Focus on areas prone to water ingress‚ such as around the door frame and ventilation openings. Ensure the door fits snugly within its frame‚ and consider adding weather stripping for a tighter seal. Regularly check the sealant for cracks or deterioration‚ reapplying as needed to maintain optimal protection against the elements.
Proper sealing maximizes efficiency and protects your plants.
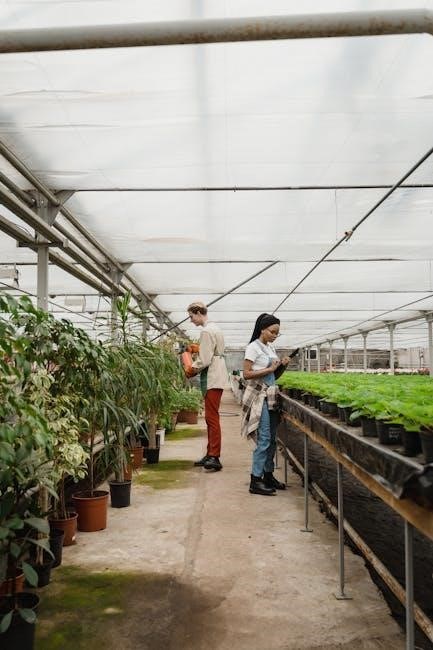
Greenhouse Kit Manuals – Accessing Resources
Your greenhouse kit manual is your primary guide throughout the assembly process. Bootstrap Farmer offers printable instruction manuals for all their DIY and All-Metal greenhouse kits‚ readily available on their website. MyGreenhouseStore.com emphasizes the importance of referencing your kit’s specific manual for detailed instructions.
Sierra Greenhouse highlights well-illustrated‚ step-by-step guidance within their manuals. YouTube channels like YourGreenhouses.com provide visual assembly guides for specific models‚ such as the HOUSE greenhouse. Always prioritize the manual included with your kit‚ supplementing it with online resources as needed.
Properly utilizing these resources ensures a smooth assembly!
Expandable Greenhouse Models
YourGreenhouses.com showcases expandable models designed for flexibility‚ allowing you to lengthen the greenhouse to suit your growing needs and available space.
Carefully follow the manual when adding length‚ ensuring proper frame alignment and structural integrity for a lasting expansion.
Understanding Expandability Options
Expandable greenhouse models‚ like those from YourGreenhouses.com‚ offer a fantastic solution for gardeners anticipating future growth or requiring additional space. These kits are specifically designed to be lengthened‚ providing a cost-effective alternative to purchasing an entirely new structure.
Before embarking on an expansion‚ thoroughly review the kit’s manual. Understanding the specific components and connection points is crucial for a seamless and structurally sound addition. Typically‚ expansion involves adding identical frame sections‚ securely bolted to the existing structure.
Consider the foundation when planning an expansion. Ensure the base can adequately support the increased weight and size of the extended greenhouse. Proper leveling and reinforcement are essential to prevent shifting or instability. Careful planning ensures a robust and long-lasting expanded greenhouse.
Adding Length to Your Greenhouse
Extending your greenhouse typically involves attaching additional frame sections to the existing structure‚ mirroring the original design. Begin by carefully aligning the new sections with the existing frame‚ ensuring a flush and secure connection point. YourGreenhouses.com highlights the flexibility of their expandable models.
Securely bolt the new sections using the hardware provided in the expansion kit. Double-check that all bolts are tightened to the manufacturer’s specifications‚ guaranteeing structural integrity. Pay close attention to corner supports and bracing‚ reinforcing these areas for added stability.
Finally‚ extend the polycarbonate panels or glazing material to cover the added length‚ ensuring a weatherproof seal. Proper sealing prevents heat loss and maintains optimal growing conditions. A well-executed expansion provides valuable extra space for your plants.

Tool-Free Assembly Options
Simplify setup! Many modern kits feature pre-drilled parts and tool-free components‚ as noted by Sierra Greenhouse‚ for quick and easy assembly.
These systems minimize the need for specialized tools‚ making greenhouse construction accessible to everyone‚ even beginners.
Identifying Tool-Free Components
Begin by carefully unpacking and reviewing your greenhouse kit’s contents. Sierra Greenhouse highlights that tool-free designs are becoming increasingly common‚ focusing on ease of construction. Look for components specifically designed to snap‚ click‚ or slide into place without requiring screws‚ bolts‚ or other fasteners.
Pre-drilled parts are a key indicator; these eliminate the need for drilling‚ significantly reducing assembly time and complexity. Examine connectors and joints – many modern kits utilize innovative locking mechanisms. Pay close attention to the manual; it will clearly identify which parts are intended for tool-free assembly. Often‚ these components will have a distinct shape or color coding for easy recognition. Prioritize assembling these elements first to build confidence and momentum.
Utilizing Pre-Drilled Parts
Pre-drilled components are central to simplified greenhouse assembly‚ as noted by Sierra Greenhouse. These parts eliminate the time and potential errors associated with drilling your own holes. Carefully align the pre-drilled holes in connecting pieces before fastening them together. Ensure proper alignment to maintain structural integrity.
Use the provided hardware – screws‚ bolts‚ or clips – to secure the connections. Avoid over-tightening‚ which can strip the holes or damage the material. A gentle‚ firm tightening is usually sufficient. Refer to the kit’s manual for specific guidance on hardware usage. These pre-drilled features streamline the process‚ making it accessible for DIY enthusiasts of all skill levels‚ and contribute to a more robust final structure.

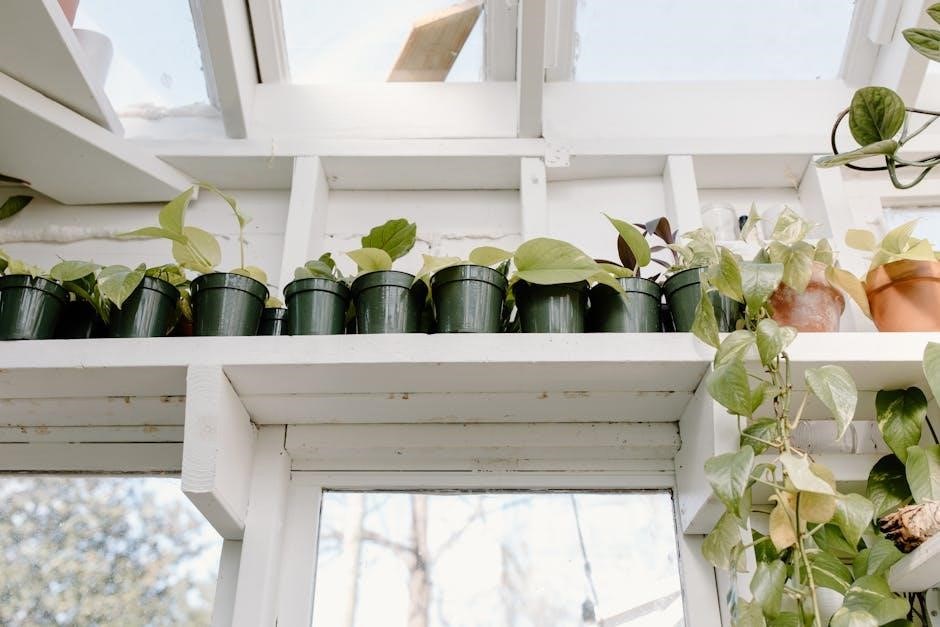
Compact Greenhouse Assembly
Maximize limited spaces with compact greenhouse kits! Sierra Greenhouse highlights designs for small areas‚ focusing on efficient assembly and space-saving configurations for growers.
Space-Saving Design Considerations
When assembling a compact greenhouse‚ careful planning is crucial. Prioritize vertical space utilization with shelving units and hanging baskets to maximize growing potential within a smaller footprint. Sierra Greenhouse emphasizes designs tailored for limited areas‚ suggesting lean-to models that utilize existing walls for support and reduced space occupation.
Consider the placement of doors and ventilation to avoid obstructing pathways or reducing usable growing space. Opt for sliding or bi-fold doors to minimize swing space. Evaluate the surrounding environment; ensure adequate sunlight exposure while accounting for potential wind exposure. Compact greenhouses often benefit from reinforced framing to withstand external forces‚ given their smaller base size.
Pre-planning the layout of plants and equipment will further optimize space.
Assembly Tips for Small Greenhouses
For small greenhouse assembly‚ begin with a perfectly level base – even minor imperfections can amplify structural issues in a compact frame. Sierra Greenhouse highlights the importance of clear‚ step-by-step instructions‚ often included with kits‚ and recommends carefully reviewing them before starting. Utilize pre-drilled parts whenever possible‚ as these significantly reduce assembly time and potential errors.
Take advantage of tool-free designs where available‚ minimizing the need for specialized equipment. When tightening bolts‚ avoid over-tightening‚ which can damage the frame. Work with a partner to manage panels and supports‚ especially during the initial framing stages. Regularly check for plumb and squareness throughout the process.
Patience is key – a methodical approach ensures a sturdy and long-lasting structure.
Troubleshooting Common Assembly Issues
Address alignment problems promptly‚ and check all connections. MyGreenhouseStore.com advises ensuring corners are stable. Contact the manufacturer for missing or damaged parts immediately!
Addressing Frame Alignment Problems
Maintaining squareness and plumb is crucial during greenhouse assembly. If the frame isn’t aligned correctly‚ it can lead to instability and issues with panel installation. MyGreenhouseStore.com emphasizes checking that all frames are plumb using a spirit level before fully tightening bolts.
Start by loosening the bolts on the affected section‚ allowing for adjustments. Gently nudge the frame into alignment‚ then re-check with the level. Utilize braces and crossbars‚ as recommended in your kit’s manual‚ to provide additional support and maintain the correct angles.
If significant adjustments are needed‚ consider temporarily supporting the frame with additional lumber or props while you tighten the connections. Consistent checking throughout the assembly process will minimize alignment issues.
Dealing with Missing or Damaged Parts
Upon receiving your greenhouse kit‚ immediately verify all components against the inventory and parts list. Bootstrap Farmer provides accessible instruction manuals‚ aiding in this verification process. If parts are missing or damaged‚ do not attempt to proceed with assembly.
Contact the manufacturer or retailer immediately to report the issue. Most reputable suppliers will promptly ship replacement parts. Document the damage with photographs for your records and to expedite the replacement process.
Avoid using substitute parts‚ as they may not be compatible or meet safety standards. Patience is key; waiting for the correct replacements ensures a structurally sound and long-lasting greenhouse.